Tuesday, June 14, 2011

Come Rain or Shine

For about two weeks the rain fell, and fell, and fell. It felt like it would never end. The weather inspired me to make something warm and cozy for the weekend and I selected a bread pudding with spiced rum sauce. I even decided that only a wimpy baker would go buy the bread to make the bread pudding, I on the other hand was a daring baker who did not believe in short cuts! So I decided I'd make cinnamon raisin bread days before and then turn it into bread pudding on the weekend. But, just as my plan came together the sun appeared, blazing with a vengeance and I just couldn't bring myself to execute my plan.

I went back to the drawing board and while in the grocery store I was inspired by a huge bag of limes. I'll make Key Lime Pie, I thought. But these weren't key limes, just regular limes. While talking about it with a friend she made a mistake and called it Lime Cay Pie. I liked the way it sounded and decided to rename my dessert after one of my favorite beaches. After all, this weekend would've been perfect for a trip to Lime Cay plus I'd eliminate the risk of being accosted by purists who are against using anything but Key Limes to make this dessert. I searched for a recipe and found one for Key Lime Tart in Martha's Baking Handbook. I love tarts and thought it would be more elegant and easier to slice so I went for it! Lime Cay Tart!


I ditched the crust in the book and decided to make one from ginger biscuits. The same crust I made for the Nectarine and Mascarpone Tart. I thought the ginger and lime would go well together. Perhaps it could've done with more baking because it crumbled quite a bit at the edges, affecting the look of my tart. After making the crust with processing ginger biscuits and combining the crumbs with melted butter, I baked it for 8 minutes and left it to cool. 


The filling was soooo easy to make, I beat egg yolks and sugar together until pale and fluffy, then added lime zest, condensed milk and lime juice. I then filled the cooled crust and baked it for 10 minutes. Then I attempted to cover it loosely with plastic wrap but once the plastic wrap touched the top some of it stuck to it. It ruined the smooth finish of the tart :( . Oh, the simple lessons I learn while baking. I placed it in the fridge and left it to cool. I declined to make the garnish. It would take 30-40 minutes of cooking to make and I did not have the luxury of time for such a frivolous undertaking. 

I tasted the tart and it was wonderful. It was tart but sweet, silky smooth and refreshing, just the thing you'd want on a nice hot day. The book suggested that it be served with sweetened whipped cream, which I also didn't bother to make but I can see why they would suggest it. Something to cut the tartness a bit. For me though, it was great without it. Had a lovely zing to it!

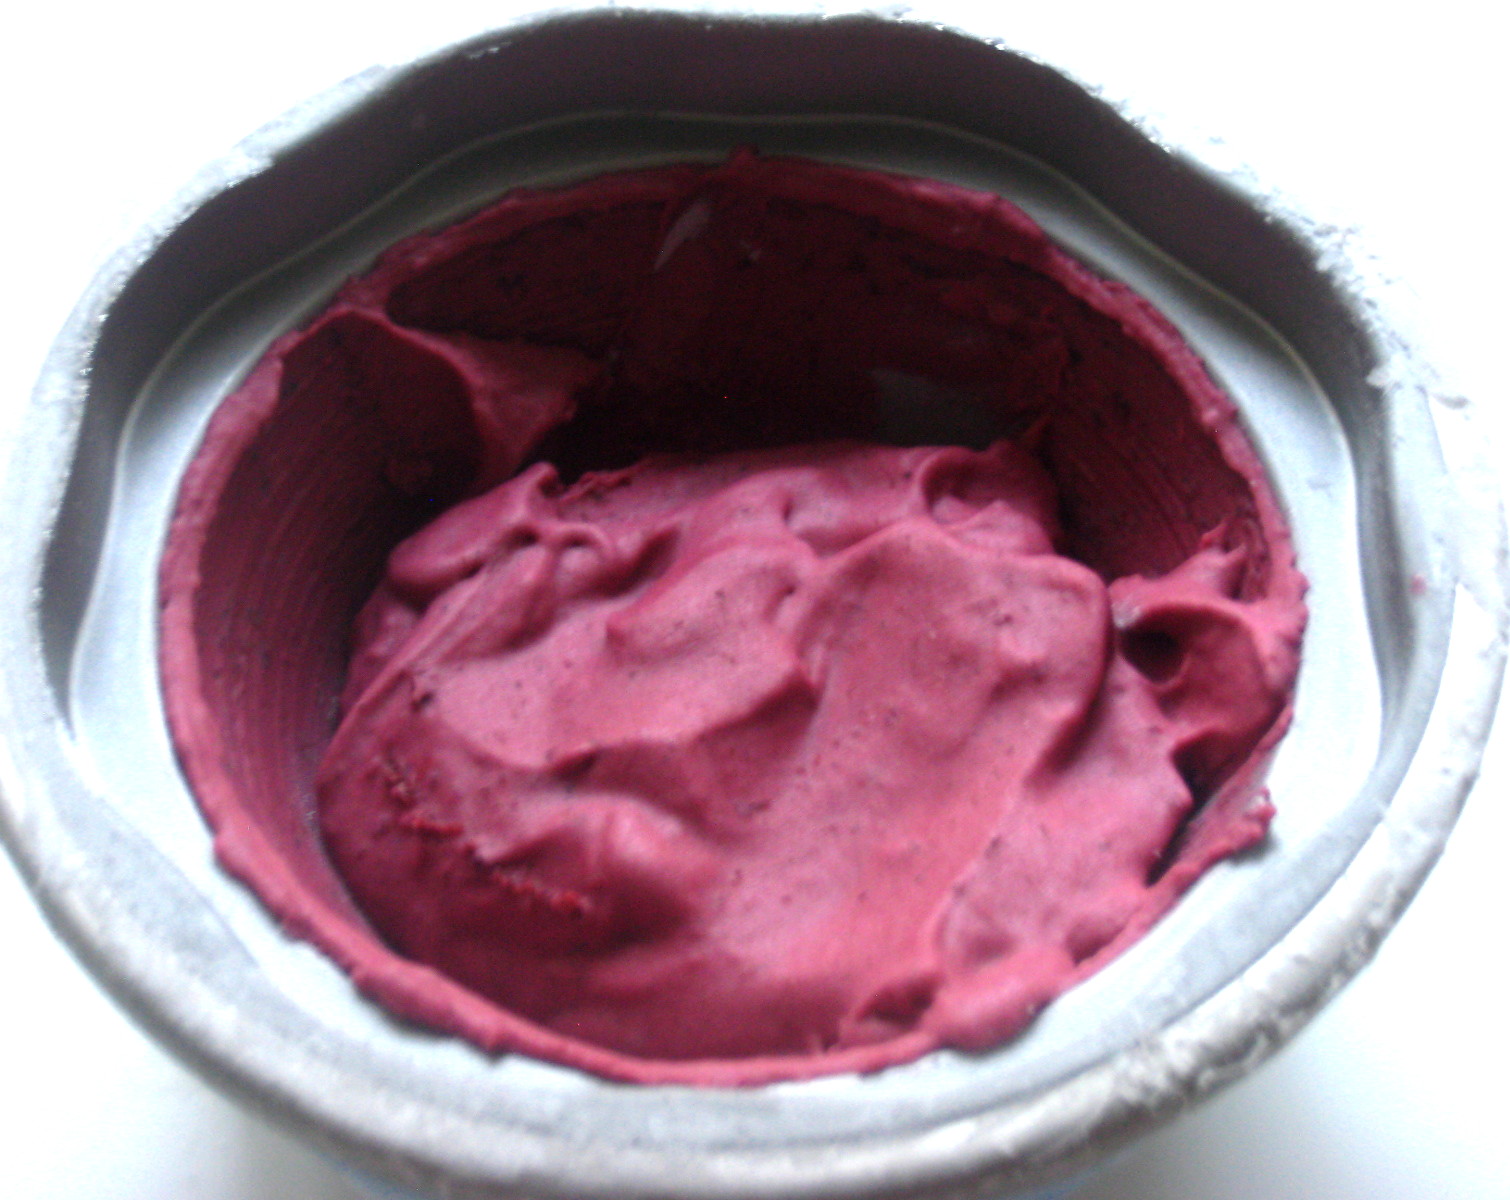
On Saturday my fiancĂ© mentioned he felt for ice cream so of course I volunteered to make some for him. I chose Unbelieveably Good Chocolate Blueberry Ice Cream from Dorie Greenspan's Baking From My Home to Yours. I couldn't resist trying this recipe. The name was taunting me and I just had to know whether it did its name justice. This was my second time making ice cream but the first time I made one which contained egg yolks and had a custard that needed to be heated. Well I learned some lessons there as well, I cooked the custard into something resembling scrambled eggs twice before getting it right. But finally, on the third try I made the custard and heated it properly. Then I poured it over the chopped chocolate, stirred it until smooth and then put it in my ice cream maker. When it was almost done I added the blueberry preserves. I let the mixture freeze overnight before tasting.


The ice cream was tasty, very chocolaty and had a beautiful dark colour but unbelievably good? No. Just good. So, like the brownies and chocolate chip cookies, I'm still on the search for the perfect recipe.

Monday, June 6, 2011

Too Short Shortcake

Two friends of mine requested strawberry shortcake so I selected it as this week's project. While doing recipe research I discovered that what we have been accustomed to calling "Strawberry Shortcake" was not really Strawberry Shortcake. Real strawberry shortcake is made with biscuits. Yeah, biscuits, weird huh? Anyway, I set out to make the cake version and came upon this fabulous recipe for Strawberry Cream Cake from Cooks Illustrated


After last week's daring bakers challenge I thought this one would be 
easy as pie. then something happened that brought me down from my cloud of invincibility. I began by making the cake and followed the directions to the letter. But while it was baking I noticed it hadn't risen as much as I had expected. It also took 10 minutes more than the recipe said it would to bake. I let the cake cool, wrapped it in plastic wrap and put it in the fridge overnight. It bothered me all night. I thought about it and the next morning I awoke feeling renewed and decided to make another cake. I decided to use a recipe for moist yellow cake layers from Nick Malgieri's Bake!. I figured the problem with the first one was the delicate folding in of the egg whites. Maybe I had mixed them too much. This recipe didn't have that, I thought it would be harder to screw up. 

While the cake baked, I prepared the strawberries. One of the things that drew me to this recipe was that it not only had fresh strawberries but also contained another filling made with macerated strawberries and cherry brandy. I sliced 24 of the strawberries and quartered the rest of them. 


Then I removed the cake from the oven. This cake didn't rise enough either. The cake was supposed to be 5cm tall and it was only 3cm. So with two short cakes I decided to make the best of it, cut each cake in half and use three of those halves to make the strawberry shortcake. 
Cake #1
Cake #2


I liked the texture of the second cake the most so I decided to use two layers of it and one layer of the first one. While cake #2 cooled, I macerated  the quartered strawberries with 6 tablespoons of sugar. After an hour I strained the strawberries and put the liquid in a saucepan with 3 tablespoons of cherry brandy and simmered it for 5 minutes until it became quite syrupy. The quartered strawberries were then pulsed in the food processor 5 times and added to the syrup. I put the mixture to cool while I made the cream. The cream was simple and involved beating cream cheese, sugar and vanilla together and whipping that with heavy cream. 

I assembled the cake by placing the fresh strawberry halves around the circumference of a cake layer then filled the center with the macerated strawberry mixture. Then I added a generous layer of the cream mixture. I repeated this for the next layer. Then I placed the final layer on top, topped it with cream and surrounded the top layer with fresh strawberry halves. My middle layer suffered an injury while being transferred, it broke in several places. I just put it together and hoped that this wouldn't seriously affect the stability of the cake.


I put the cake in the fridge to cool for a couple hours before I cut it. This was one of those weeks when I had a lot of tasters and I was nervous about how it would come out. I had some strawberry shortcake lovers in the group and I didn't want to disappoint them by not doing their favorite dessert justice. Despite my issues with the cake not rising and the breaking of the middle layer, the cake was deeeeelicious and still quite beautiful. I even have a request to make another one next weekend! 


Sunday, May 29, 2011

May 2011 Daring Bakers Challenge: Chocolate Marquise on Meringue

The May 2011 Daring Bakers’ challenge was hosted by Emma of CookCraftGrow and Jenny of Purple House Dirt. They chose to challenge everyone to make a Chocolate Marquise. The inspiration for this recipe comes from a dessert they prepared at a restaurant in Seattle.


This is my first Daring Bakers Challenge and I was both exciting and nervous. This dessert had several different components which took quite a long time to prepare. It's also a dessert I've never heard about in my entire life. What's marquise? Well, I was determined to find out. I welcomed the challenge and headed to the kitchen early this morning feeling daring as ever. I prepared the quarter recipe variation since six portions of dessert seemed like a quantity I could easily get rid of rather than the original recipe's 18. The recipe is available on the Daring Kitchen website


I started with the chocolate base. Instead of using a double boiler to heat the cream, I took the easy route and used the microwave, then I poured it on the chocolate. I stirred it until smooth and then added cayenne, salt, corn syrup, vanilla. cocoa powder, black pepper, butter and rum. I used dark rum instead of tequila because I already had it on hand from when I made Pineapple Upside Down Cake. Besides, I like rum better!


After that I began preparing my meringue. I added the sugar to my egg whites and splash of apple cider vinegar. Then I heated it over a pot of simmering water until the sugar dissolved, stirring it with my favorite utensils, my bare (clean) hands. They said we should use the whisk attachment of the mixer to whisk it until soft peaks appear. My cheap but effective mixer doesn't have a whisk attachment, so I decided that I would do it the way master chefs did. I'd whisk it by hand. After all, Julie Child would've done it that way, it can't be that hard right? WRONG! I whisked and whisked until my arm was sour, and all I had were frothy whites. I decided to try whipping it with the attachments that came with my mixer. They worked just fine, I didn't need the whisk attachment. My right arm was very happy. I tucked my meringue in the fridge while I worked on the caramel.


I got a small saucepan out and added the sugar and water over medium heat. I let it bubble and boil until all the water was evaporated and a strange thing happened. IT got completely hard in the pot. I took the spoon and started digging it from the corners of the pot. I realized that the heat wasn't high enough to keep the sugar liquid and when I turned the heat up, the sugar gradually began to melt again and turn brown. When it was sufficiently dark I stirred the cream in and let it darken a little more before removing it from the fire and leaving it to cool. After it cooled I poured it into one of my handy dandy squeeze bottles. A trick I learned from someone on Food Network, I can't remember who, but I'm tempted to say it's Bobby Flay because he often uses squeeze bottles to drizzle his reductions and sauces unto his plates. 


Next step, the spiced almonds. I could't find blanched whole almonds. I don't think I've ever seen them before. So I bought raw whole almonds and hoped they'd work just as well. I whisked up my egg white til it was frothy and added the spices. I then coated the almonds in it and put them on a baking pie plate lined with foil. I baked them for half an hr and allowed them to cool while I put the marquise together.


I took my three egg yolks, which had been sitting on the counter getting to room temperature since I separated them from the whites for the meringue, and using the mixer on high speed, began whisking them. Realizing that it was going to take a long time to get the required pale thick mixture, I enlisted my friend Rachelle to hold the mixer while I went about making the sugar syrup. I boiled the sugar and water together. The recipe uses some devices to tell when the syrup is ready, devices which I did not have, so I decided to just guess when I thought the syrup was syrupy enough, then I added it to the egg mixture and took over the mixing from Rachelle. I then whipped my heavy cream until it had soft peaks and set it aside. I combined the chocolate base and the egg mixture carefully, making sure it was well incorporated without deflating. Then I folded in the cream. 


When I first read the quarter recipe, I thought to myself, what size container would I put the marquise in to produce the six 2"x2" blocks. I didn't have a container with the right dimensions but I had a brilliant idea. I'd use a muffin tin instead. I lined the tin with foil and filled all 6 muffin cups with marquise. I topped it with plastic wrap and placed it in the freezer for 5 hours. I took the opportunity to text my friends and let them know, dessert would be ready at 4.


When they arrived, I removed the marquise from the freezer and coated them with the cocoa powder. I don't have a blow torch so I decided to use the broiler to brown the meringue. Now, I know you have to watch things under the broiler VERY carefully because in no time they can go from browned to burnt but sometimes it still happens to me. This time it got a little bit darker than I'd like in a few small areas, but I caught it in time to avert disaster. I used used my handy squeeze bottle to add the caramel and sprinkled a few nuts around it. Then I placed the marquise on top, took a few pics and served it to my friends, fingers crossed.


The reviews were good overall. Some were not a fan of the cocoa, because it was bitter. I thought that perhaps if it was a thinner coating of cocoa it would've been better. One friend suggested using a sieve to lightly dust it instead, I think this is a great suggestion! Everything else was delicious. The marquise tasted like a deep dark chocolate ice cream and the meringue was just like marshmallow. The sweet and spicy almonds and the caramel sauce brought everything together neatly. It was one of those desserts though that makes you immediately serve glasses of water after a tasting. This was mostly due to the sweetness marshmallow-like meringue. The dessert made me wonder though, "instead of going through all that trouble making the marquise, couldn't I have just made a dark chocolate ice cream?" Mmmm dark chocolate ice cream, gotta add that to my to make and eat list.

So I finished my first challenge. I feel a sense of accomplishment. This was no simple cookie, this was a real test, and I met the challenge head on, executed it and it tasted good hehe. I guess I am a daring baker after all!


Update: Since serving my friends, I served the dessert to Anthony. When plating it I made sure to make the cocoa layer very thin by applying it very carefully with my fingers. I kept closer watch on the meringue and got it the perfect golden colour. With those two minor adjustments, the dessert was perfect both in taste and appearance. I would've taken a picture of it and posted it but by the time I thought of that, it was all gone!


Tuesday, May 24, 2011

Feeling Blue

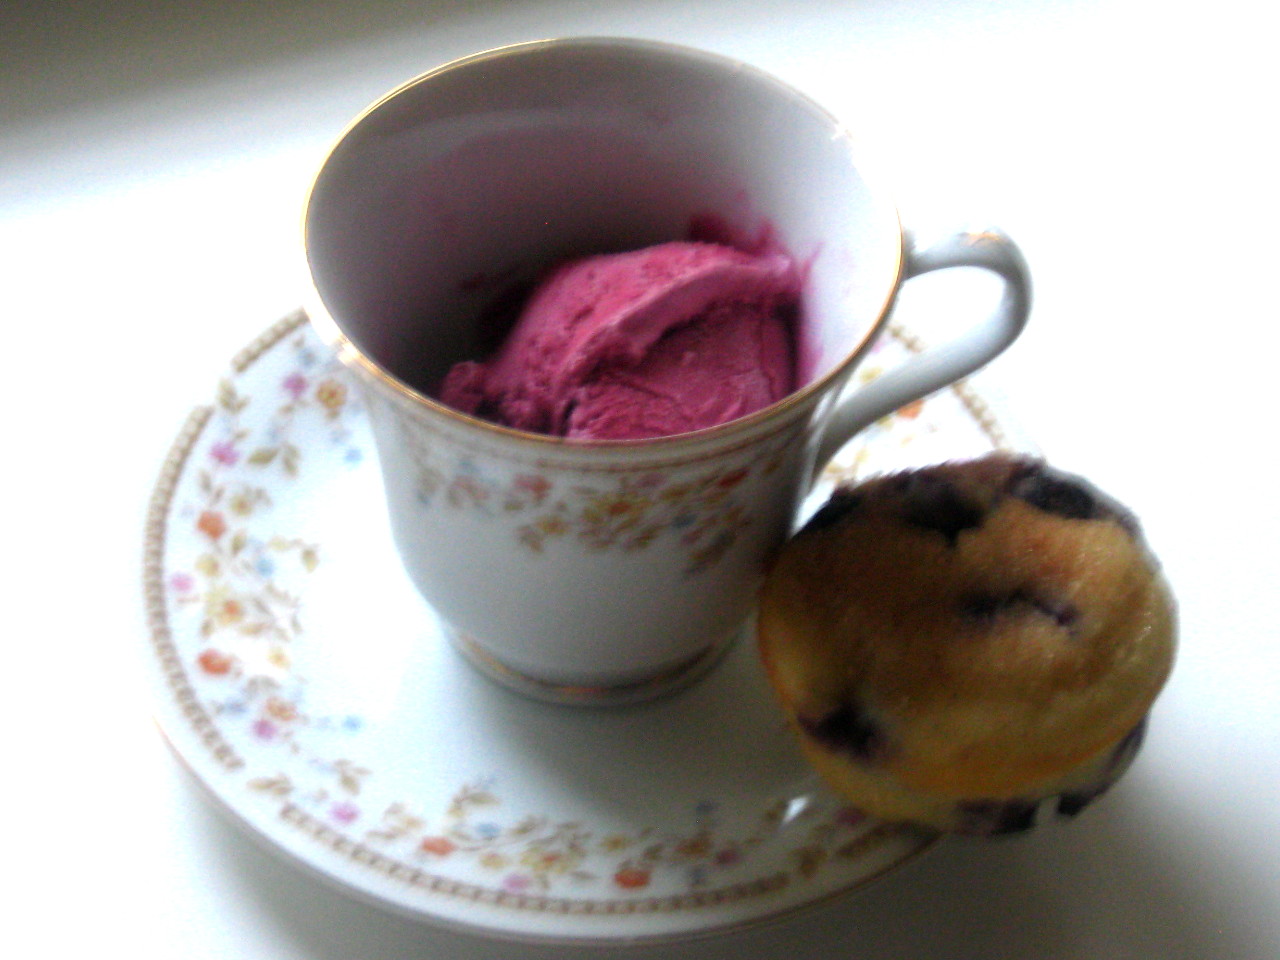
No, I'm not sad, I actually had a wonderful weekend. This week's post is all about BLUEberries! Remember last week I mentioned that the summer berries had done a disappearing act in my usual grocery store? Well this week they're back and it took me a while to decide what to make. As I walked by the aisle with the ice cream maker I had an idea, Blueberry Ice cream! I hurried and got all my ingredients together. I used the "Blueberry-Sour Cream Ice Cream" recipe from Dorie Greenspan's "Baking: From my Home to Yours".


I needed a cup of blueberries, but didn't know whether a six ounce package would be enough to fill a cup so I bought two packages thinking a cup would be about 8 oz. It was a little annoying that this particular recipe was using cups to measure the fruit. I would've preferred they use weight since thats how they measure it on the package. Anyway, I ended up with one whole package of extra blueberries and decided to make blueberry muffins as well.

I felt pretty foolish when I read the little ice cream maker's instructions and discovered that this thing had to be left in the freezer for at least 8 hours! Silly me, now I wouldn't be able to churn it till 9pm. I set the bowls in the freezer as instructed and begun preparing the custard for the ice cream. I combined the blueberries, sugar, salt, lime juice and lime zest in a saucepan and cooked over medium heat until the blueberries popped to form a lovely little sauce. I pureed this in the blender for a minute and then thought of all the wonderful things I could do with just this part of the recipe alone. All the other desserts it would be lovely drizzled over. I added the cream and sour cream to the blender and pulsed a couple times to get everything incorporated. When I took a taste, I thought it needed more lime juice and sugar so I added one lime at a time, and one tablespoon of sugar at a time until my tastebuds approved. Then I poured it in a container and left it in the refrigerator to chill until the bowls for the ice cream maker were done their 8 hour freeze.

During the wait I made the muffins. I used the "Blueberry Muffin" recipe from Nick Malgieri's book "BAKE! Essential Techniques for Perfect Baking". What I like about this recipe is that he provides a basic muffin recipe and then suggests several variations. This one recipe can turn into blueberry , lemon poppy seed, apple raisin, jam or whatever else your imagination can think of muffins. IT encourages you to take the basic recipe and put your own spin on it.

I started by whisking the dry ingredients together, then I whisked the wet ingredients together with the lime zest and then combined both wet and dry mixtures. I folded in the blueberries and divided the mixture evenly among the holes in the muffin tins.


I sprinkled the tops with cinnamon sugar and baked them at 375F for 20 mins. Then I set them on the cooling rack. Look at these babies!


I've had blueberry muffins before, my mother used to make them for weekend breakfasts when I was a child. But never with fresh blueberries. The difference is apparent. There is a fresh, fruitier taste to them and I just love how the blueberries popped and infused themselves into the muffin dough. Yummy!!

Several hours later when my ice cream bowls were ready I filled each with half of the liquid I had chilled. Each one churned in my little ice cream maker for a little over 5 minutes.


I covered each bowl in plastic wrap and put them back in the freezer overnight. Then this morning at dawn I ran to the kitchen and pulled out my first frozen creation.


Isn't the colour amazing? It had a light, refreshing, creamy, tangy, taste. Ice cream is not my usual morning breakfast, but any chef (or wannabe baker) knows you gotta taste your product before you serve it!

Wednesday, May 18, 2011

Finding Comfort in Simplicity

I kind of struggled to find inspiration for last weekend's project. At first I had wanted to do something with summer berries. However, the sporadic supply of them at my grocery store and my reluctance to drive all over town looking for them, led me to chose something else. I saw some beautiful large D'Anjou pears and decided to make a Pear-Oat Crisp from Martha's Baking Handbook.


This dessert requires very little prep time which suit me well this weekend cause I was able to prepare it, stick it in the oven, take a shower and get ready for a movie date with the bf. The first step in preparing the dessert is combining the ingredients in the topping: butter, flour, oats, cinnamon, granulated sugar and brown sugar. Then I peeled cored and sliced my pears and mixed them with cornstarch, lime juice and mixed spice. The recipe calls for ground all spice but I couldn't find any so I used the mixed spice instead. What I loved about the pears is that they were significantly easier to core than apples. I didn't use a corer, I just used a spoon and scooped it out! 

I got my baking dish out and buttered it thoroughly, then I put the pear mixture in and generously scattered the topping over it. I popped it in the oven and cooked it for a full 55 mins. I turned off the oven but left it in there to keep warm while we were at the movies. When we got home, I served a bit of it with some vanilla ice cream. I couldn't find the ice cream scoop so its a little misshapen hehe :)


This was just as I expected it to be, warm, comforting, just the right amount of spice. Did I mentioned I doubled the mixed spice? I'm glad I did, it was great. And the pears, they added a fresh taste and were succulent but not mushy. This wasn't the most challenging, high reaching, stunning dessert but some of the simplest things, taste the best!


Saturday, May 7, 2011

An American Icon

This week's dessert was a special request from a very good friend. It's also an American icon, Classic Apple Pie. For the recipe I turned to Martha Stewart, it's from her book Martha Stewart's Baking Handbook which I received as a gift from my parents last week. I've been reading this book and the other one they gave me like novels for the past week and they not only have many wonderful recipes but they have clear instructions, many pictures and loads of baking tips and techniques to make you a better baker. This is just the way I like cookbooks to be and I can't wait to put them both to good use. 


Last night I measured the crust ingredients and  set them to cool overnight in the fridge. Cold ingredients make the best crust. Yesterday I went out and bought a food processor, I've wanted one since I started baking but I kept putting it off, not wanting to spend the extra money. Finally I caved and bought a very reasonably priced one at MegaMart. I put it to work this morning on the pie crust. I pulsed the flour and salt together, then added the butter and pulsed a few more times before adding the ice water. I divided the dough in half, wrapped each piece in plastic wrap, formed them into discs and chilled them in the fridge for 2 hours. I could've made the pie crust by hand, but certainly not as quickly or efficiently as the food processor did. I like my new toy :)


After removing the dough discs from the fridge I rolled them both into 12inch discs on sheets of parchment. I fitted the first one to my glass pie plate then I returned both to the refrigerator. While they chilled, I began to prepare the apples. The recipe calls for an assortment of many different cooking apples. Unfortunately I don't have the luxury of having many different varieties of cooking apples available to me in Jamaica's grocery stores. In fact the only cooking apple which is readily available is the Granny Smith. However, I decided to take a pointer from Bake!: Essential Techniques for Perfect Baking and use an equal mixture of Granny Smith and Golden Delicious. While peeling, coring and slicing I said to myself, "Buy an apple corer!" It was a nightmare trying to take the core out with a paring knife. 


When I was finally done I combined my sliced apples with lime juice (couldn't find lemons), sugar, cinnamon, flour and nutmeg. Then I piled it into the pie shell. It took me so long to prepare the apples that the pie dough spent more time in the fridge than it was supposed to, and by the time I took it out it was quite hard. But a few minutes in the hot Jamaican weather and it was just right to work with.


I then brushed the edges with egg wash. I made the egg wash with whole milk instead of cream because I already had the milk and it seemed like a waste of money to buy a carton of cream to use only one tablespoon. I laid the top crust over the filled pie shell and pressed the top and bottom together. I used my handy kitchen shears to trim the sides, then I folded the edges under and used a fork to crimp them. I covered the resulting pie in egg wash and gave it a generous sprinkling of sugar. Again I was forced to make a substitution based on availability, I couldn't find sanding sugar so I used granulated sugar. Then I made three slits in the top of the pie to allow steam to escape during baking. I tucked this bad boy in the freezer for 30 minutes.


 After preheating the oven to 400 degrees, I placed my very first apple pie on a rimmed baking sheet lined with parchment paper and put it in the oven. I baked it for 20 minutes, then reduced the temperature to 350 and baked it for another 50 minutes, rotating its position from lower third to upper third of the oven half way through. 


It smelled amaaaazing in the last 15minutes of baking when the juices were super bubbly. I let it cool for a painful 3 hours. I really had to try hard not to cut it. My friends arrived just in time to cut their special request. 


I did good, not only was it stunning, it was delicious. The crust was flaky and buttery, the apples were tender and the two types of apples worked well together. If I were to make any adjustments, I would reduce the citrus a bit because I found the filling a little too tangy and I'd add more spice. I'm a spice lover, I love me some cinnamon and nutmeg, so I'd dial that up a bit. My first apple pie, well, my first pie all together was a success, and not nearly as complicated as I thought it would be. 

Monday, May 2, 2011

A 50/50 Weekend

As I mentioned in my last post my family came to visit and I decided to make some of their favorites. For Daddy, Pineapple Upside Down Cake and for Mummy and my brother, Mini Black-Bottom Cheesecakes. If I haven't already mentioned it, cheesecake is my absolute favorite dessert so I guess I made it for myself as well. I wanted to show my family what they had been missing when they were abroad, reading about my baking from afar. I wanted them to eat my desserts and swoon, and ooze with pride. I'm not sure it turned out that way. This was not one of my better weeks. I had wanted it to be perfect and although not a complete disaster, it was far from a home run.

I'll start from the least successful of the two, the Mini Black-Bottom Cheesecakes. I chose these because I was having a very hectic weekend and they were less time consuming than a whole cheesecake. Perhaps its not fair for me to criticize the recipe since I didn't follow it to the letter. I made two substitutions. I used sour cream instead of fromage blanc because I couldn't find it in the grocery stores. I substituted guava jelly for raspberry preserves because I already have a jar of it at home in my fridge. I used oreo cookies for the crust, pulsed them in my mini chopper, combined them with butter and pressed them into the cupcake liners sprayed with oil. Then I baked the crust.

This week I discovered the important difference between PAM and Crisco spray oil. When I went to buy it, the PAM was quite a bit more expensive than the Crisco and I didn't see much of a difference, they were both made of canola oil. But after using them both I have now noticed the profound difference between the two. The first difference is that PAM prays a lighter mist, wider mist of smaller droplets than the Crisco spray. The second is that PAM can spray upside down, which comes in handy when you're spraying the inside of a tin. So now that I know the difference, I think I'll be getting PAM next time.

I blended the cream cheese and other ingredients together, filled the cupcake liners and baked them. During baking they seemed to puff up way more than I had expected and cracked at the top, but it was when I removed them and put them in the freezer that I began to realize this was not going to be a success. They all had a dramatic sink in the middle. After being removed from the paper liners the shape was not nearly as neat and presentable as it should've been and neither was the preserves on top. But I still had hopes that even though they weren't the prettiest mini cheesecakes, they'd be tasty. Well, they weren't. They weren't sweet enough and the black bottom crust over powered the rest of the cheesecake. It was far from good cheesecake and trust me, I KNOW my cheesecake. So I was really disappointed with that. But I WILL redeem myself. Cheesecake is one thing I am determined to perfect.


Now for the better of the two, the Pineapple Upside Down Cake. My father only likes 3 desserts: Pineapple Upside Down Cake, Rum & Raisin Ice Cream and what is known in Jamaica as Icebox Cake. I introduce the icebox cake that way because it seems that what the rest of the world calls icebox cake is a totally different thing, making it extremely difficult to find a proper recipe for it and since I don't have an ice cream machine, yet, I was left with Pineapple Upside Down Cake. This is not the first time I've made this dessert, once I made it for Father's Day with a box mix and canned pineapple but this time it was from scratch with fresh pineapple and I hoped it would beat it.

I don't have a 10" cast iron pan so I made the topping by simmering butter and brown sugar in a sauce pan for 4 minutes then poured it in a 9" cake pan and layered the fresh pineapple on top. I had some friends staying over this weekend and one of them was kind enough to peel and slice the pineapple for me, which, I'm sorry to say, I've never done before. 

I sifted the dry ingredients together, mixed the wet ingredients together and gradually mixed the dry mixture into the wet mixture. The batter tasted and smelled amazing. Especially with the addition of the rum. I poured the batter into the cake pan and baked for 45 minutes, then I removed it from the oven and let it stand for 5 minutes before turning it over unto a plate and sprinkling it with a little more rum.


I finished baking this cake pretty late and I had a party to get to so I didn't taste it right away. Because of concerns about ants, I stuck it in the fridge, where I knew they couldn't get it. Now, the fridge is not the friend of cakes. It modifies their texture so you don't get that moist fluffy feel anymore. The next day though we removed it from the fridge and rested it on the stove, another place that the ants don't seem to be able to get to. After the cake warmed up, the texture redeemed itself and the cake was quite good. 

So this week was a half and half week. One good, one not so good. Not sure if I made the stellar impression I'd wanted to, but perhaps I was expecting too much. Besides, they'll be back at Christmas so I'll have another opportunity to wow them. 

Mom and Dad also brought me some baking books which were on my wishlist, Martha Stewart's Baking Handbook and Bake!: Essential Techniques for Perfect Baking which I was ecstatic to receive. I can't wait to put them into good use in the coming weeks.